Installing hakchi
Follow these instructions to install the latest version hakchi2-CE on your PC.
1. Download hakchi
Download hakchi by going to https://github.com/teamshinkansen/hakchi2-ce/releases/
Click on the “Latest release” box then scroll to the bottom and find the “Assets” section.
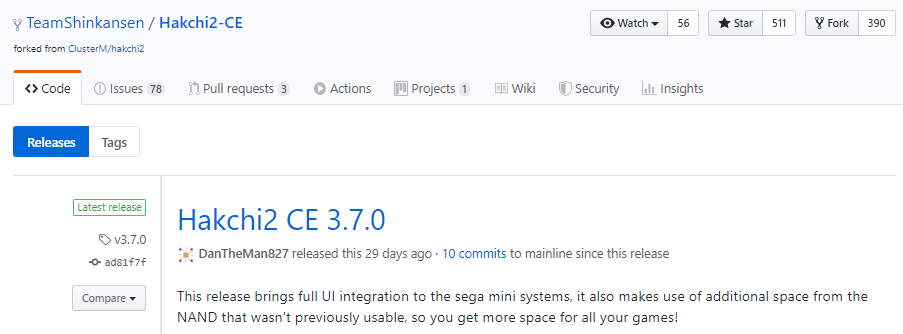

Download your preferred version: debug, installer.exe or release.zip.
2. Install hakchi
Debug version Preffered
This version is very simple to use.
- Download the debug version above
- Unzip / Extract to your desired location
- In the extracted folder, right click on hakchi.exe and Send to Desktop, Create Shortcut.

Installer version
For this example we are using the installer.exe.
Find the location of the downloaded installer (Typically C:\Users{username}\Downloads)
Double click the installer.
If you are prompted by the UAC click ‘yes’.
When prompted for installation options the defaults are fine:
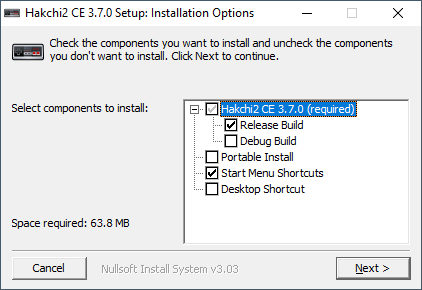
Click ‘Next >’
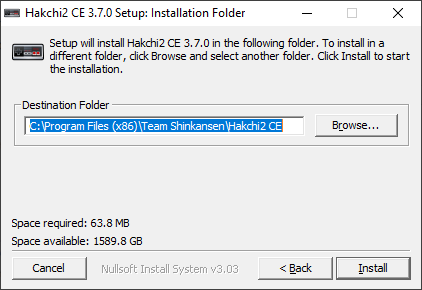
Click ‘Install’

When complete click ‘Close’
hakchi is now installed!!!
3. Start hakchi
Debug version
Double click on shortcut created on desktop in step 2.
Installer version
To start hakchi double click the icon located in the default install location.
Example below is from Windows 10.
C:\Program Files (x86)\Team Shinkansen\Hakchi2 CE

First start
When starting you will first see the software loading and restoring original games.
The first time you run the software you may see an “Important message” containing updates or information.
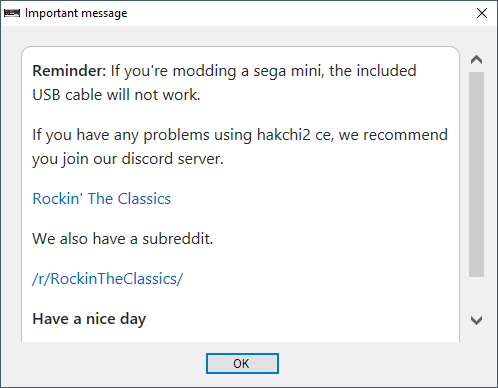
Click “OK” and you will now be at the main screen.
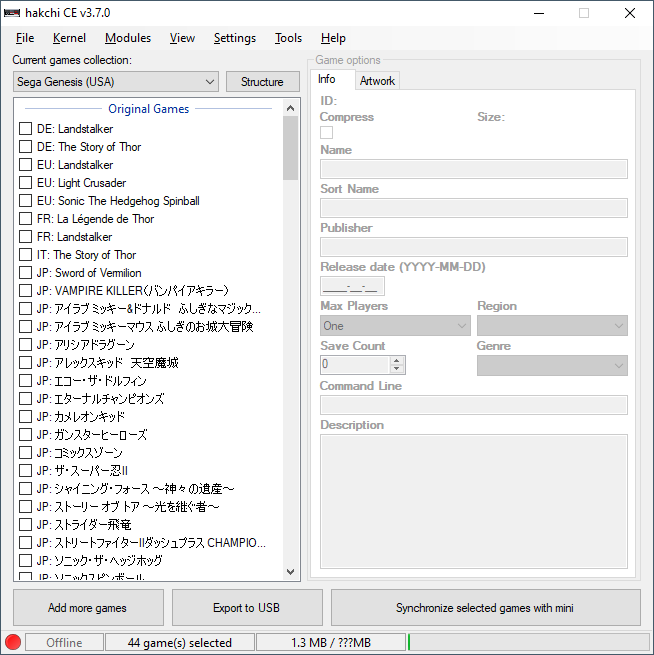
You are now ready to install hakchi onto your mini