Installing RetroArch and cores
For this tutorial we will download RetroArch and our cores individually then install them in the final step. You can also use the “Download and install option” for each item in the KMFD’s Mod Hub if you wish.
1. Start and connect hakchi
2. Download RetroArch
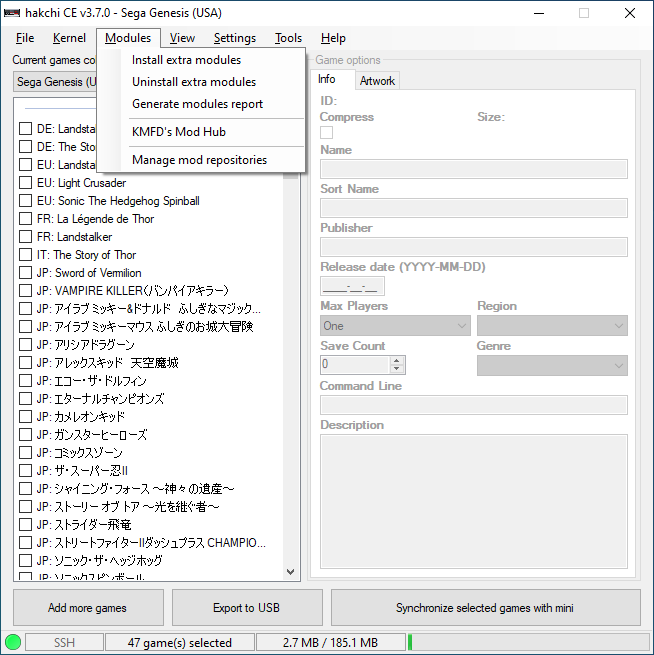
From the hakchi main screen: Goto Modules > KMFD’s Mod Hub
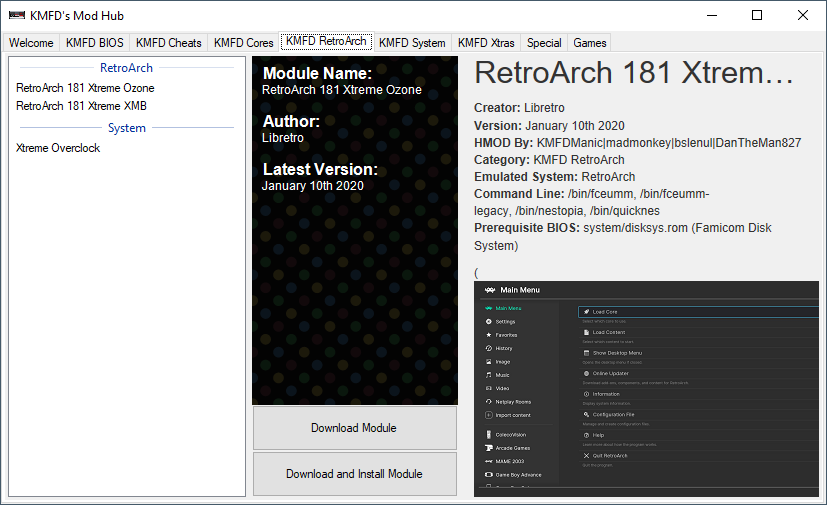
Goto KMFD RetroArch tab and select your flavor of RetroArch either Ozone, RGUI or XMB then click download.
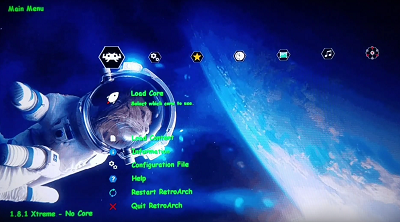
The image above includes an example image for RetroArch OZone interface. The image below is an example image of the XMB interface.
3. Download cores
As in Step 2 Goto Modules > KMFD’s Mod Hub.
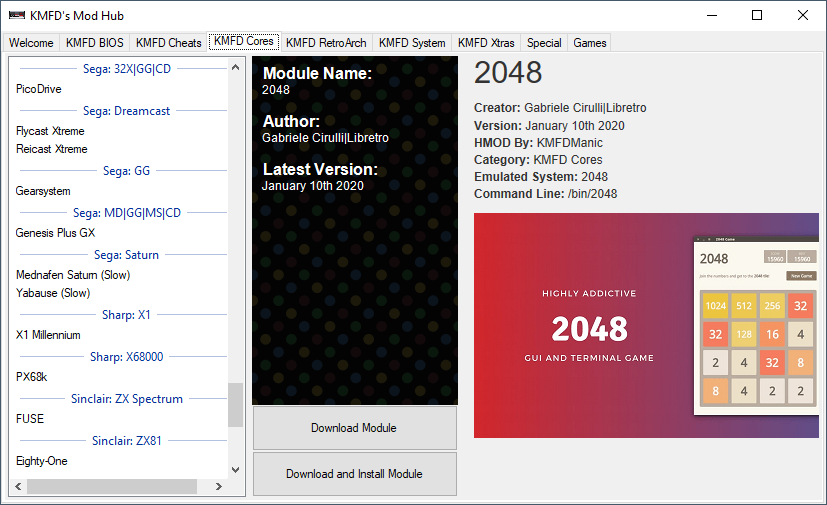
But now goto “KMDF Cores Tab” and select the cores you wish to run, for this tutorial we will get both ‘PicoDrive’ and ‘Genesis Plus GX’. Select both of these and download them.
4. Install modules
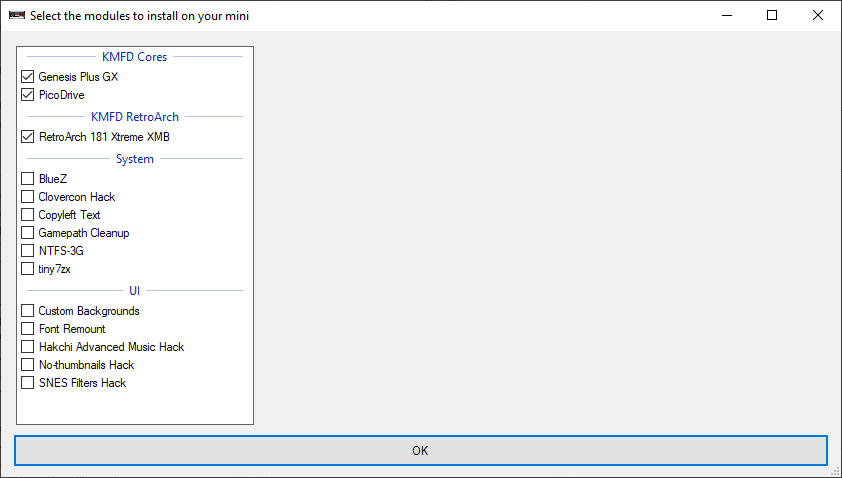
Goto Modules > Install extra modules

Check the boxes for RA and the cores then click “OK”.
System will reboot.
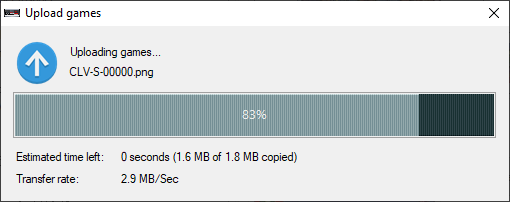
Mods will now be installed on the mini
The done dialog box will display when completed.
RA and your cores are now installed!!!
5. Selecting core to run (optional)
By default games will attempt to run in stock emulator. Use this option if you wish to specify a different emulator (core).
From the hakchi main screen:
Right click on one of your added games. And click on “Select emulation core…”
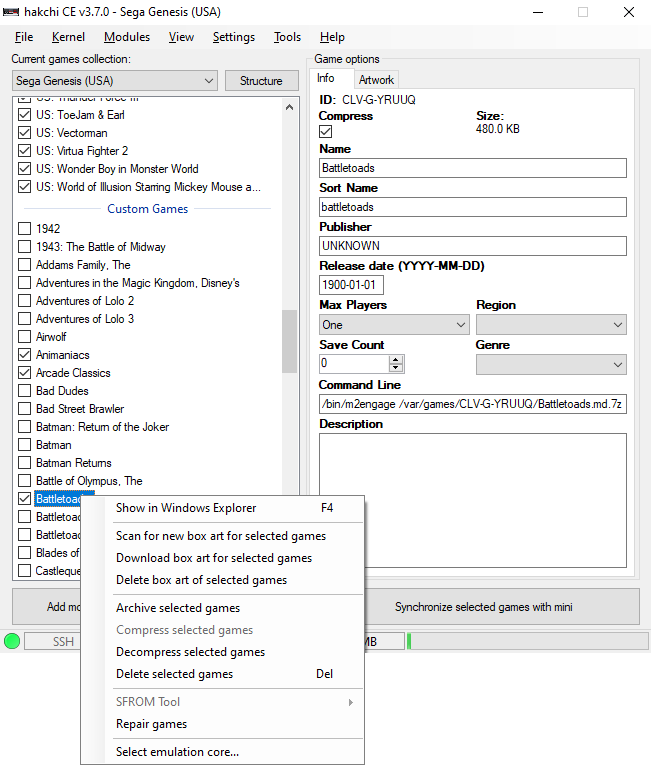
This will open the “Select Cores” windows.
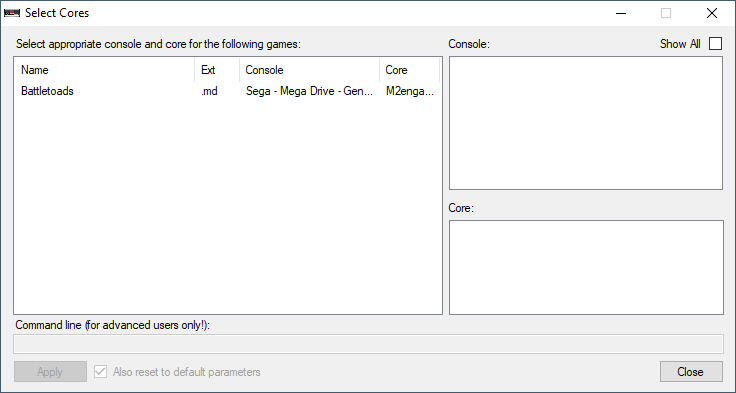
When you select a game in the left section it will populate the “Console” and “Core” listings with installed options.
After you select your game choose the console it is for, then which core you wish to associate with it.
The command line will automatically be populated.
Only mess with the command line if you know what you are doing
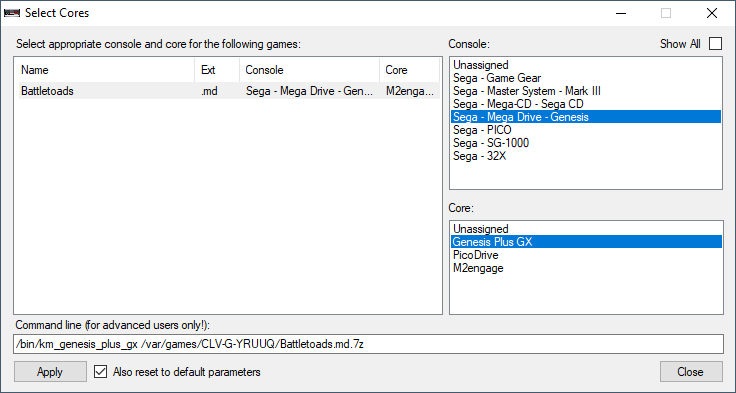
When you are happy with your selections click “Apply”
When complete select “Close”
6. (Optional) Add the RetroArch ‘Game’ to mini
If you wish to enter the RetroArch UI without playing a game you can add the RetroArch ‘game’ to the mini UI. This is just an Icon for your systems UI that will load RetroArch.
6a. Via mod hub
From the hakchi main screen: Goto Modules > KMFD’s Mod Hub

Goto the games tab.
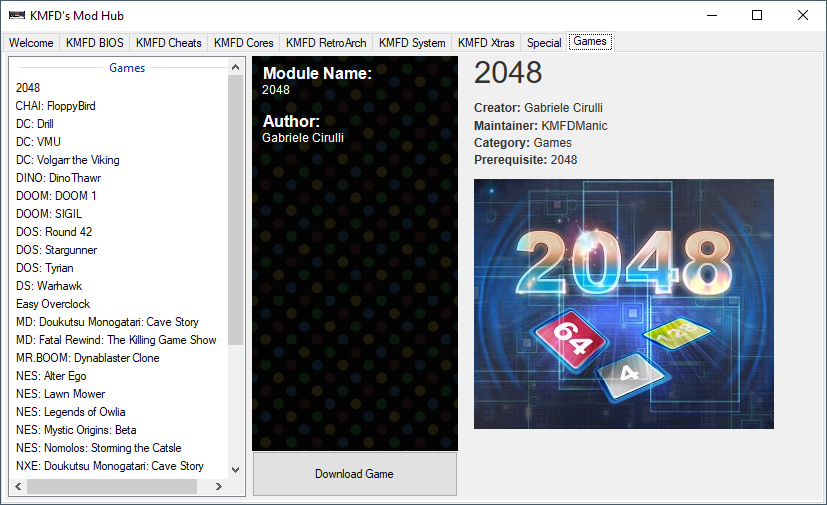
Scroll down until you see the ‘RetroArch UI:…’ options.
Select one of them and click download.
This will add the ‘game’ to your hakchi games list.
Verify ‘RetroArch’ UI is “Checked” in the games list and click “Synchronize selected games with mini”.
6b. With CLV-Z-RARCH file
First download the RetroArch game “CLV-Z-RARCH”. If this link isn’t available you can ask for it in our Discord channel, someone will be able to provide it.
Once downloaded drag the zipped game file onto your “Games Collection” on the hakchi main screen. It will be added as a new app.
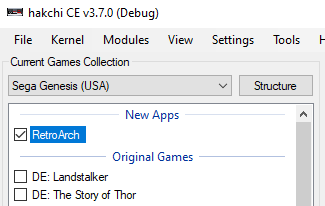
Verify ‘RetroArch UI’ is “Checked” in the games list and click “Synchronize selected games with mini”.
The RetroArch icon will now be on your system UI.
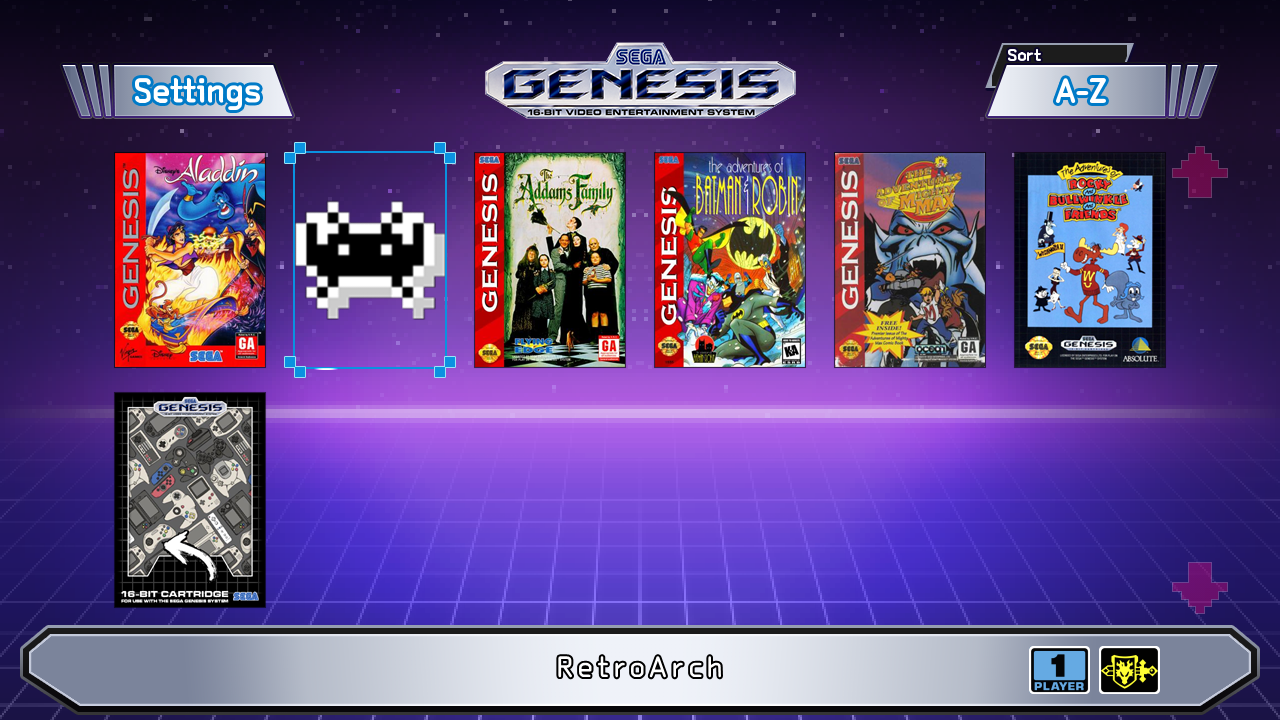
RetroArch is now installed!!!